Yoga for · reviewed by a teacher
Yoga for seniors, from the chair to the mat
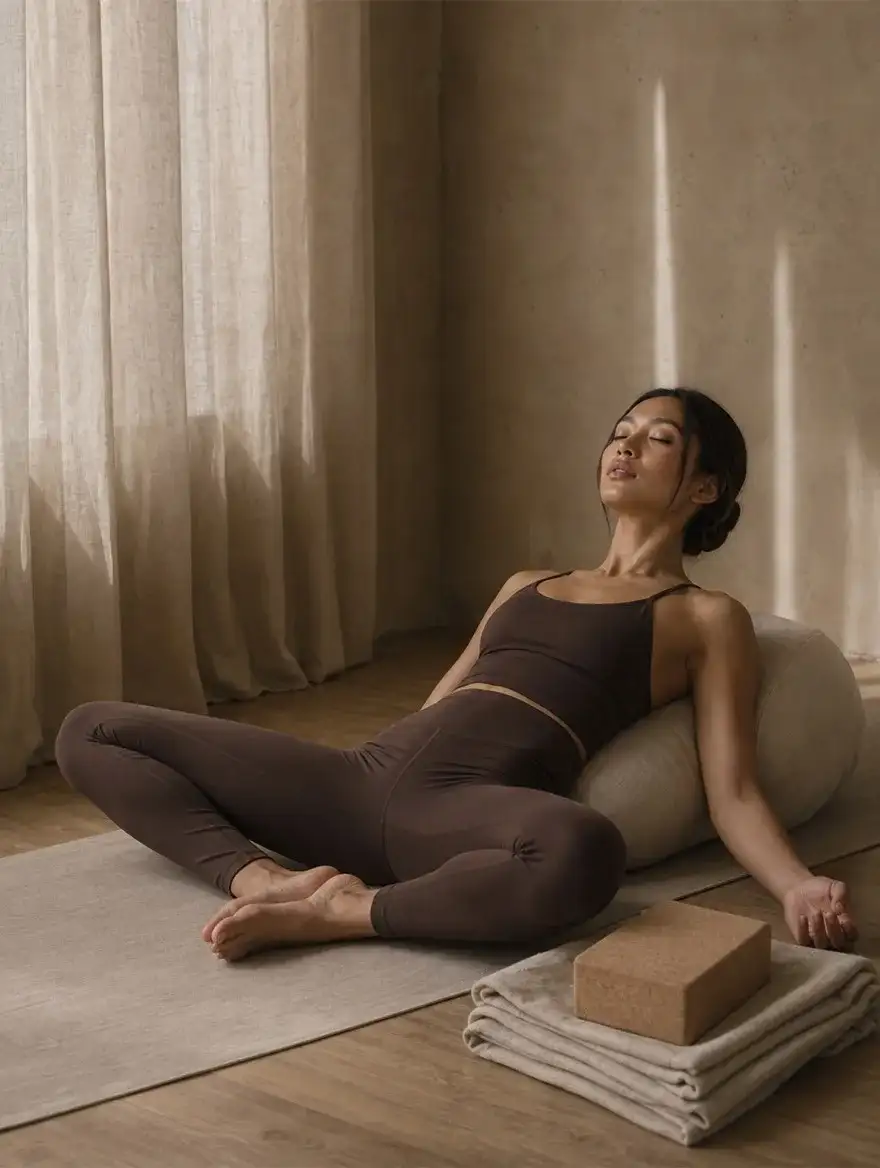
Chair yoga is gentle yoga done sitting on a sturdy chair, or standing with a hand on its back for balance, so it suits older adults who find the floor hard. Check with your doctor first if you have heart or blood pressure problems, osteoporosis, a joint replacement, dizziness or recent falls.
Teacher's note from Joahnna Lee
“I teach anyone who wants to learn, including parents and grandparents who have never done a pose and are not sure their knees will cooperate.”
Yoga does not ask you to be young, flexible or able to sit cross-legged on the floor. A chair makes it possible for almost anyone: you sit on it, you stand and hold it, and it takes the worry out of losing your balance. It suits parents and grandparents who have never done a pose and are not sure their knees will cooperate.
This page gives you a short seated sequence, a few standing shapes with the chair for balance, and a calm way to finish. If you would rather be guided in person, a gentle first lesson for beginners, taught at your pace can start in exactly this way, with the chair close by.
Before you try anything, please read the section on what to check with your doctor first, and the health and safety notes that apply to every page on this site. Yoga is a way to move gently. It is not medical care.
Is it too late to start yoga?
No. The NHS guidelines for older adults suggest activities that build strength, balance and flexibility on at least two days a week, and they name yoga among them. What changes with age is not whether you can practise but how you begin: slower, with more support, shorter holds and more rest between shapes. Stiff hips or years without exercise do not rule you out; they simply show where to start.
What is chair yoga?
Chair yoga is gentle yoga done sitting on a chair, or standing with one hand on its back. The chair stands in for the floor, so you never have to get down or up again.
It is not the same as Chair Pose, the strong standing squat called Utkatasana. Office workers use the same idea at their desks, and the shoulder stretches for long laptop days borrow several of the shapes below.
To set up, choose a sturdy chair without wheels and put it against a wall or on a non-slip mat. Practise barefoot or in shoes with grip, never in socks on a tiled floor.
A seated chair sequence
Sit near the front of the seat with your feet flat and hip-width apart. Breathe normally, move slowly, and stay well inside what is comfortable; nothing here should hurt.
- Neck. Sit tall. Breathing out, turn your head slowly to look over your right shoulder, only as far as feels easy. Come back to centre and turn to the left. Three times each side. Leave out tipping the head back.
- Shoulders. Roll your shoulders up, back and down, five slow times. Then reach your arms forward and up only as high as they go without strain.
- Spine. With your hands on your knees, breathe in and lift your chest a little. Breathe out and round your back gently, looking towards your belly. Six small rounds.
- A gentle twist. Put your right hand on your left knee and your left hand on the seat beside you. Turn slowly from the belly and stop at the first sense of resistance. Change sides. If you have osteoporosis, ask your doctor before twisting at all.
- Hips. Lift one knee a few centimetres and lower it, then the other, like a slow march. Eight on each side.
- Ankles. Lift one foot a little and circle the ankle five times each way, then point and flex the foot.
Standing with the chair: balance work
Turn the chair so its seat faces a wall and stand behind it, both hands resting on the backrest. The wall stops it sliding away from you.
- Standing tall. Feet hip-width apart, weight even between both feet, the crown of your head lifting. This is Mountain Pose, the plain standing shape that every balance begins from. Five slow breaths.
- Heel raises. Rise onto the balls of your feet, then lower slowly. Five to eight times.
- Side leg lift. Shift your weight onto your left foot and lift the right foot a little out to the side, then lower it. Five times, then change sides.
- One foot light. Bring your weight onto one foot and let the other heel lift, toes still on the floor. Stay a few breaths. If that feels steady, lift the toes too, just a little.
Keep both hands on the chair throughout. If you feel dizzy at any point, sit down straight away. If the floor is comfortable, the head-to-toe routine with an easier option at every step comes next.
Breathing and rest to finish
Sit back in the chair, or lie on a bed or sofa with a pillow under your knees if the floor is not comfortable. Rest your hands on your belly. Breathe in through your nose and let the belly rise; breathe out a little longer than you breathed in. Stay for two to five minutes. Never hold your breath, especially if your blood pressure runs high.
For a longer rest where cushions carry your whole weight, restorative yoga, with bolsters, blankets and a chair to lean on, is built around this. If nights have become harder, see a slow, supported practice for the hour before bed; for everyday stiffness, slow, careful shapes for a sore lower back.
Check with your doctor first if…
Please speak to your doctor before you start if you have:
- a heart condition, chest pain, or blood pressure that runs high or low, including if you take medicine for it;
- osteoporosis or low bone density, because deep forward bends and strong twists are usually left out;
- a hip or knee replacement, so your surgeon or physiotherapist can tell you which movements to avoid;
- dizziness, fainting, or a fall in the past year;
- recent surgery, a recent stroke, or pain you have not had checked.
Stop and sit down if you feel dizzy, short of breath or light-headed, or if anything hurts sharply. Chest pain needs medical help at once, not rest. Yoga can sit alongside your doctor’s care, never in place of it.
Practising with a teacher
A careful teacher will ask about your health, any medicines that make you dizzy and what your doctor has said before a first session. At home, a sturdy chair, a clear wall and a non-slip mat are all you need; yoga blocks and straps are useful extras. Nothing should move faster than you do.
A family room or a covered lanai in the cool of the morning makes a good space for a slow start, and grown children are welcome to join in on the mat beside the chair.
If hands and wrists are sore on the mat, the wrist-free yoga flow keeps every pose off the hands, and the gentle sequence for a stiff back is done mostly lying down.
Browse all Yoga for guides.
Sources: Mayo Clinic, Fitness program: 5 steps to get started; NCCIH (US National Institutes of Health), Yoga: Effectiveness and Safety; NHS, Exercise in pregnancy; CDC, Pregnant & Postpartum Activity: An Overview; Canadian Family Physician (Chan et al., 2014), via PubMed Central, Hot yoga and pregnancy: Fitness and hyperthermia. Last reviewed 2 October 2026.
Questions
What kind of chair do I need for chair yoga?
A sturdy chair with four legs, a flat seat and no wheels. A plain dining chair is ideal. If your feet do not reach the floor, put a folded blanket under them. Skip office chairs, folding chairs and soft sofas, and set the chair against a wall or on a non-slip mat so it cannot slide.
Can chair yoga help with balance?
Some people find that careful standing work beside a chair, done regularly, helps them feel steadier on their feet, and balance practice is part of what health guidelines suggest for older adults. It is not a guarantee against falling, and it does not replace an assessment by a doctor or physiotherapist if you have fallen or often feel unsteady. Keep a hand on the chair for every balance shape until they say otherwise.
Can an older parent and a grown child practise together?
Yes. The same sequence works for both of you if each person takes their own version of each shape: a parent might stay on the chair while you work on the mat, and nobody has to keep up with anyone. Go at the pace of whoever needs more time, and keep the chair close for both of you during the balance work.
Which type of yoga is best for seniors?
Chair yoga suits many older adults best, because you sit on a sturdy chair or stand holding its back, so you never need to get down to the floor. Gentle beginner or hatha classes and restorative yoga with bolsters also work well. Whatever you choose, move slowly, rest often and check with your doctor first.
Keep reading
Your yoga calendar
We track every yoga event, workshop and pop-up class so you don't have to.
Updated