Stretches · reviewed by a teacher
Working towards the splits, slowly and safely
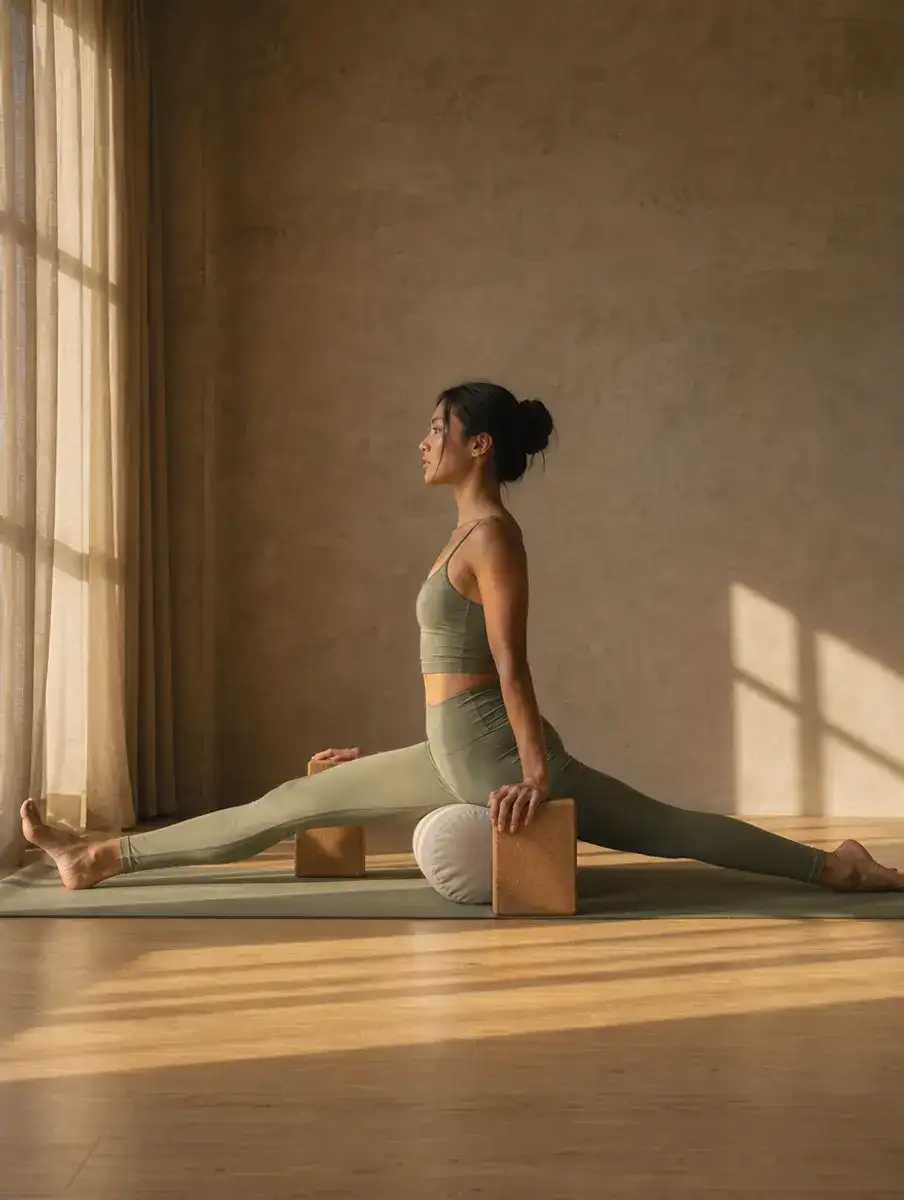
To work towards the front splits, practise the two halves separately, half splits for the hamstrings and low lunge for the hip flexors, then slide down with blocks under the hands and hips, three or four times a week. Many people see progress in four to eight weeks, though some bodies never reach the floor, and that is fine.
Teacher's note from Joahnna Lee
“I watch how you fold and how you lunge before we go anywhere near the floor, then set the props for your body, not for a photo.”
The front splits, Hanumanasana in yoga, is a stretch with one leg straight in front, the other straight behind and the hips resting on the floor between them. It asks for long hamstrings on the front leg and open hip flexors on the back leg, both at once. That is why trying it cold, all in one go, rarely works and often hurts. The Sanskrit name honours Hanuman, the monkey figure of Indian stories famous for a great leap, which is why many classes simply call the full front splits Monkey Pose.
What works better is practising each half on its own, then joining them with plenty of props. If the splits are your goal, patient floor holds tend to suit the work well, such as the propped, minutes-long shapes of a slow Yin practice at home, alongside a few short practices of your own each week.
Below is a week-by-week plan, and the warning signs to respect along the way.
When should you stop, and when should you see a doctor?
The splits put a lot of load on the hamstring attachment at the sit bone and on the front of the hip. Stop and see a doctor or physiotherapist if you:
- feel a pop, a sudden sharp pain or a tearing sensation at the back of the thigh or in the groin;
- notice bruising, swelling or pain when walking afterwards;
- feel pain deep in the hip joint, in the knee or in the lower back;
- have tingling or numbness down the leg;
- are pregnant, or within the first months after birth (ask your OB or midwife first; the hormone relaxin can make it easy to overstretch).
What should you never force?
Never bounce at the bottom of the stretch, never let someone push you down, and never take the hips lower than you can control. If the front knee locks, bend it a little. If the hips twist open to one side, raise the blocks. The floor will still be there next month.
The eight-week plan
Practise three or four times a week, after a five-minute warm-up of walking, a few lunges and Cat-Cow. Hold each shape for five to eight breaths, about 30 to 45 seconds, two or three times each side.
- Weeks 1 and 2: the hamstrings. Half splits with a block under each hand and a cushion under the back knee. Keep the front knee soft and fold from the hips with a long back. Add a strapped hamstring stretch lying down and Downward Dog, pedalling the heels.
- Weeks 1 and 2: the hip flexors. Low lunge with the back knee padded, tailbone tucked a little, hands on blocks. Then the same lunge with the arms up.
- Weeks 3 and 4: deepen each half. Straighten the front leg a little more in half splits. In low lunge, slide the back knee further back. Add lizard, the deeper lunge with the hands inside the front foot, or the long Yin hold called Dragon Pose, propped on blocks.
- Weeks 3 and 4: the outer hip. Add Pigeon with a blanket under the front hip, because a tight outer hip twists the pelvis in the splits.
- Weeks 5 and 6: the supported slide. From half splits, put two blocks at their tallest under the hands and a bolster or a stack of firm cushions under the front thigh and hips. Slide the front heel forward and the back knee back until the hips rest on the support. Square the hips to the front. Stay for five breaths and come out the way you went in.
- Weeks 7 and 8: lower the support. Lower the blocks one height at a time and take one cushion away when the current height feels easy for a whole week. The support stays until the hips can rest without strain.
- Every time: finish slowly. A seated forward bend with the knees bent, then rest on your back for two minutes.
Do you need props for the splits?
Yes, for most of us. Two yoga blocks (thick books work) and a bolster or firm cushions make the difference between a controlled stretch and a fall into the floor. The guide to yoga blocks and straps explains what to buy if you want your own. Practise on a mat or a rug, not a slippery floor, and wear something that lets the legs slide. Socks on the front foot help on a smooth tile floor.
How long does it really take?
There is no honest single answer. People who already have long hamstrings may reach the floor within a few weeks; others work for many months; some hips are shaped in a way that makes the full splits unlikely, however well they practise. Measure progress by the height of your blocks, not by the calendar.
Which stretches support this plan?
Two pages carry the groundwork. The hamstring routine with seven stretches covers the front leg, and the low lunge variations for the front of the hip cover the back leg. If you would like a wider view, how flexibility changes with yoga explains why progress comes and goes. The back leg also needs open quads, so the kneeling quad stretch and its gentler versions help, and the leg stretches for the whole lower body make a calm routine for the days in between. If the wide-legged version is your goal, the middle splits routine for the side splits works the inner thighs instead.
What are the most common mistakes on the way to the splits?
- Letting the back hip swing open. The hip of the back leg drifts out to the side, the pelvis turns, and the stretch slips out of the hip flexor. Point both hip bones forward, even if it means staying higher.
- Rounding the back to reach lower. In half splits, folding from the waist instead of the hips moves the pull into the lower back. Keep the chest long and let the hands rise onto blocks.
- Only ever practising your easy side. Most people have a friendlier leg. Start with the stiffer side and give it the same number of rounds.
- Stretching but never strengthening. Muscles that are long but weak at the end of their range tend to tighten up again to protect you.
Should you strengthen as well as stretch?
Yes. Flexibility you can control, often called active flexibility, is what keeps the splits safe once you get there. Two short drills fit at the end of any session. In half splits, with blocks under the hands, lift the front heel a few centimetres off the floor without bending the knee and hold for three breaths. In a low lunge, press the back knee lightly into the mat as if dragging it forward, hold for five breaths, then relax and sink a little deeper. Three rounds each side is plenty.
A 12-minute splits routine for a small floor
This fits a condo living room or the space beside a bed. Print it or keep it on your phone.
- Two minutes of warm-up: march on the spot, then five slow Cat-Cows.
- Low lunge, each side: five breaths, back knee padded.
- Half splits, each side: five breaths, blocks under the hands, then the heel lift drill for three breaths.
- Lizard or Pigeon, each side: five breaths.
- Supported slide, each side: five breaths at your current block height.
- Seated forward bend, knees bent: five breaths.
- Rest on your back: one minute.
In Manila’s heat the body often warms quickly, which can make the stretch feel easier than it is. Keep a towel on the mat so sweaty hands do not slide off the blocks, and do not take the warmth as a reason to go deeper than last week.
How a teacher adapts this
A good teacher watches how you fold and how you lunge before going anywhere near the floor, then sets the props for your body, not for a photo. Work both halves, and if a week brings soreness, step the plan back.
A simple way to measure hamstring progress alongside your splits work is the sit and reach test.
Best time to do it
Of the 6 moves, 1 work as warm-up moves and 4 as slower cool-down holds, so it fits most times of day after a few minutes of walking or easy movement. You can also split it: the gentler moving parts before exercise, the longer holds after.
How long to hold each move
Holds below are for a medium pace; at a slower pace, stay up to the longer time. Moves marked each side are done on both sides.
| Move | Hold | Slower pace |
|---|---|---|
| Half Splits | 30 s each side | 45 s |
| Low Lunge | 30 s each side | 45 s |
| Lizard Pose | 40 s each side | 1 min |
| Pigeon Pose | 1 min each side | 1 min 30 s |
| Supported Front Split Slide | 30 s each side | 45 s |
| Seated Forward Bend | 45 s | 1 min 10 s |
Pair it with
Other stretching routines that work the same areas, for a longer session or the next day:
- Gentle knee stretches for stiff, tired knees also works the hamstrings and hips
- Hip flexor stretches also works the hamstrings and hips
- Static vs dynamic stretching: what is the difference? also works the hamstrings and hips
Front Splits step by step

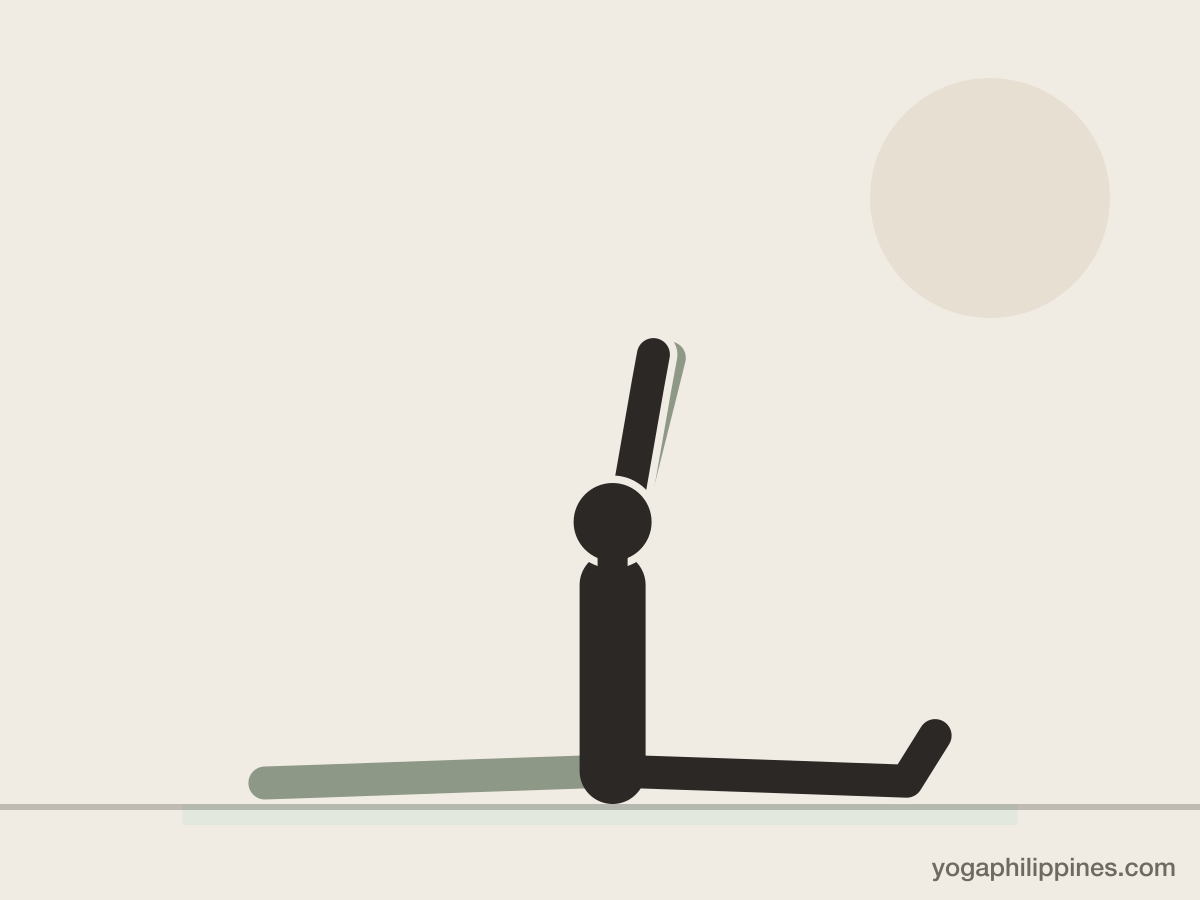
Drawings and video by YogaPhilippines.com, free to reuse under CC BY 4.0 with credit and a link: see the image licence for how to credit.
Put it into practice with the at-home flexibility check, built on pages like this one.
Browse the stretching library.
Sources: Mayo Clinic, Fitness program: 5 steps to get started; NCCIH (US National Institutes of Health), Yoga: Effectiveness and Safety; NHS, Exercise in pregnancy; CDC, Pregnant & Postpartum Activity: An Overview; Canadian Family Physician (Chan et al., 2014), via PubMed Central, Hot yoga and pregnancy: Fitness and hyperthermia. Last reviewed 2 October 2026.
Questions
What are half splits?
Half splits, Ardha Hanumanasana in Sanskrit, is a kneeling stretch: one knee down, the other leg straight out in front with the heel on the floor, and the hips stacked over the back knee as you fold forward. It isolates the hamstrings of the front leg and is the single most useful preparation for the full splits.
Is it bad to sit in the splits every day?
Long, deep holds at the end of your range every day tend to leave the body sore and guarded. Practise the preparation shapes three or four times a week, take the full slide only when you are warm, and keep easy movement for the days in between.
Should you warm up before stretching for the splits?
Yes. Spend five to ten minutes on brisk walking, marching on the spot or a few slow Sun Salutations first, so the legs feel warm and you are breathing a little faster. Muscles that are warm usually give more easily, and you are far less tempted to push a cold hamstring or hip flexor too far.
What is the difference between the front splits and the side splits?
In the front splits one leg reaches forward and the other back, so the stretch lands in the hamstrings of the front leg and the hip flexors of the back leg. In the side or middle splits both legs open wide to the sides, which asks much more of the inner thighs and of the shape of the hip joints themselves, so many people find it far slower to change.
Can adults learn to do the splits?
Many adults make steady progress towards the splits with patient practice a few times a week, though it usually takes longer than it does for children. Some bodies never reach the floor because of how the hip joints are built, and that is normal. Measure progress by how comfortably you can sit near your edge, not by the floor.
What are the splits called in yoga?
In yoga the front splits is Hanumanasana, named after Hanuman, the monkey figure of Indian stories famous for a great leap, so many classes call it Monkey Pose. One leg reaches straight forward, the other straight back, and the hips rest on the floor between them. The wide-legged version is usually called the side or middle splits.
Pairs well with
Your yoga calendar
We track every yoga event, workshop and pop-up class so you don't have to.
Updated